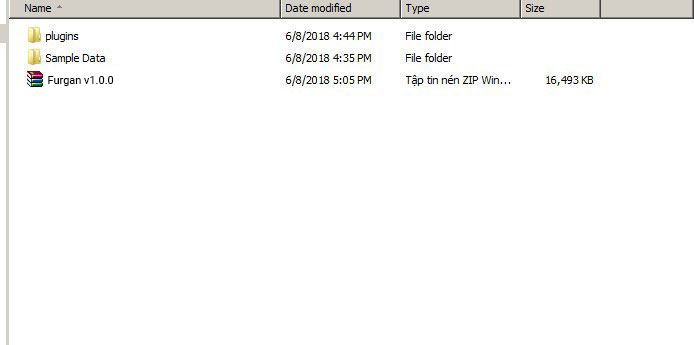
After you download the package from Template Monster, please unzip it. You’ll see a file called furgan-v1.0.0-installable, which needs to be uploaded and installed.
Important: One of the most common reasons people have issues is because they try uploading the full zip that includes demo content, theme, documentation…etc which displays the “The package could not be installed. The theme is missing the style.css stylesheet.” error. Please make sure you upload only the theme which is called Furgan.zip.
Now that you made sure WordPress is up to date, you can install the theme, and there are two ways to install theme, via WordPress or via FTP.
Install Furgan via WordPress
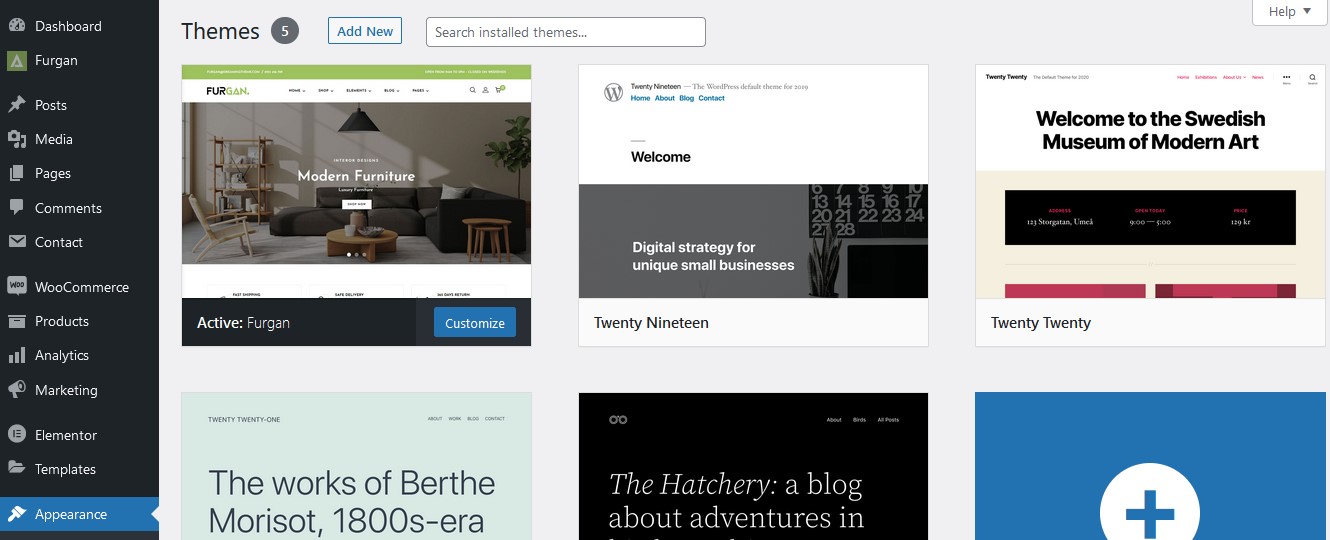
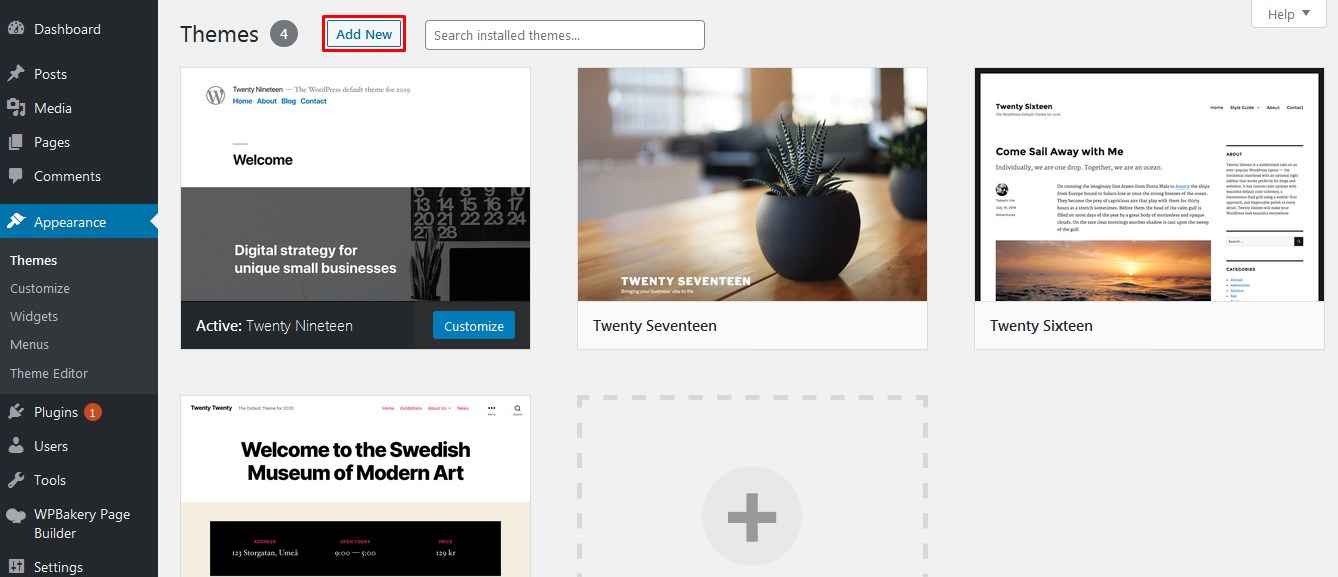
Step 1 – Log into your WordPress website and go to Appearance > Themes and click Add New.
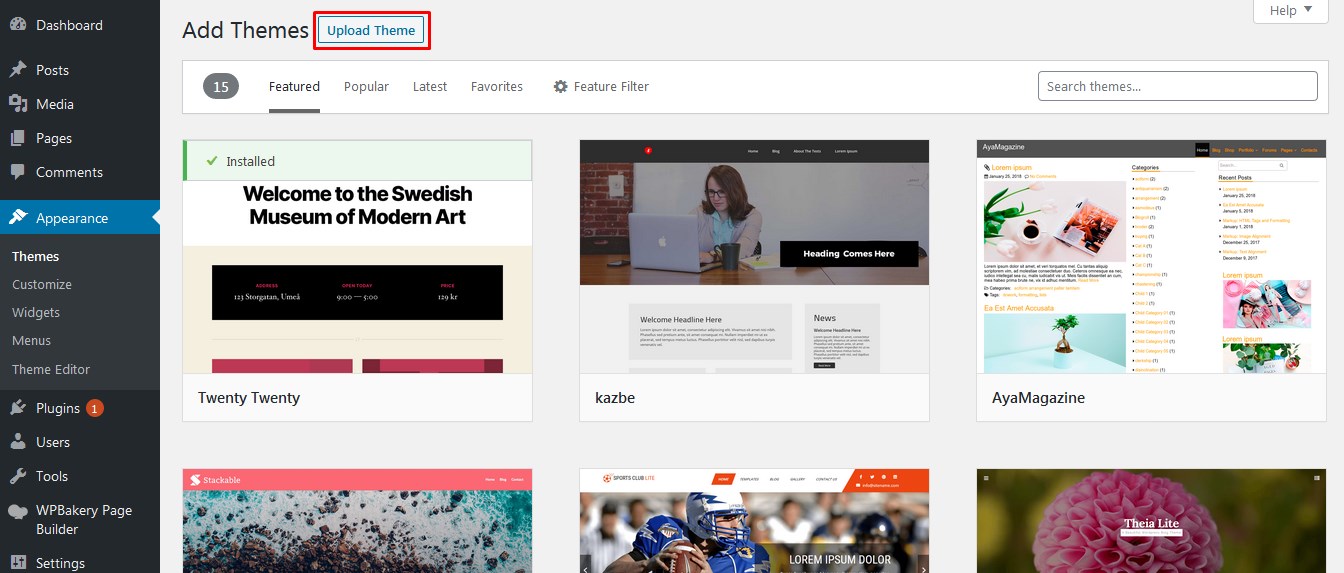
Step 2 – Click Upload Theme.
Step 3 – Browse the furgan.zip file on your computer and click Install Now.
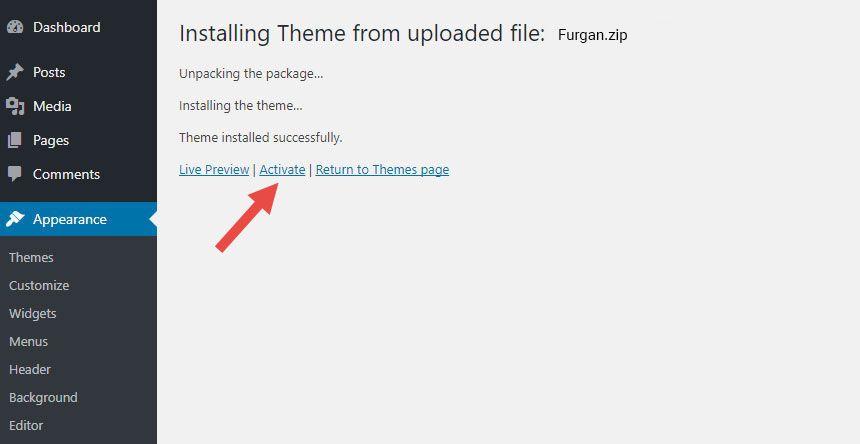
Step 4 – After the theme was installed successfully, just click to activate it.
If you get the “Are You Sure You Want To Do This” message when installing furgan.zip file via WordPress, it means you have an upload file size limit. You need to install the theme via FTP, or contact your hosting provider to increase the limit.
Install Furgan via FTP
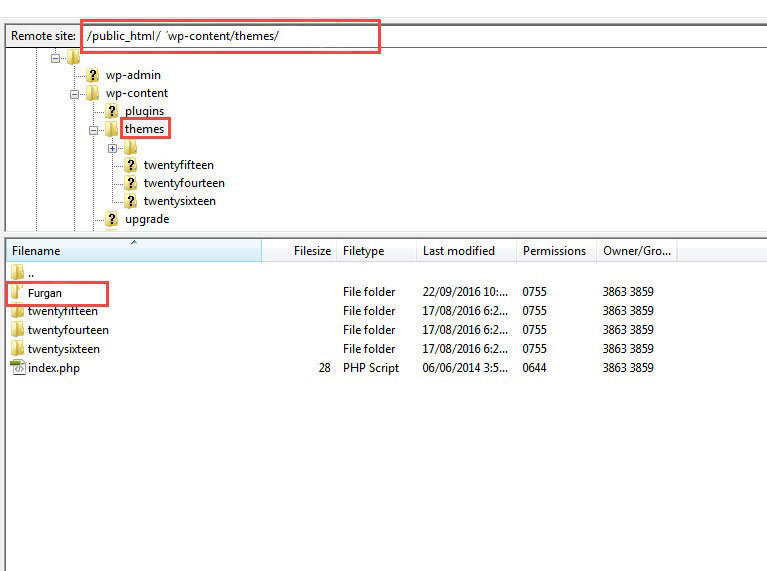
Step 1 – Unzip the Furgan.zip file, you’ll get a folder furgan.
Step 2 – Log into your hosting space via an FTP software (Use a FTP client like FileZilla).
Step 3 – Upload that folder to wp-content/themes folder on your host.
Step 4 – Go to Appearance > Themes and activate the Furgan theme.